The two portals
| Admin Portal | Self-Service Portal | |
|---|---|---|
| Audience | Organization administrators (you and your colleagues) | Delegated end users — Sign-In Self-Service Users, EasyPSK residents, ISE delegated administrators, conference hosts |
| What you do there | Configure Service Contexts, manage administrators, review audit, set up webhooks, federate sign-in | Manage your apartment’s Wi-Fi key, your endpoint group, your conference whitelist, your venue’s whitelisting |
| Who provisions accounts | The Organization invites administrators directly | Each Service Context invites its own Self-Service Users |
| Default authentication | Form Login (email + password, with optional MFA) | Email Magic Link (passwordless one-click sign-in) |
| Federated authentication | Optional SAML 2.0 with Default Role Mapping | Optional SAML 2.0; role assignment delegated to each Service’s own permission model |
| Identity scope | A single platform identity, optionally bound to multiple Organizations | A Self-Service User is bound to a specific Service Context |
| Configured at | Admin Access Control → Authentication | Selfservice Access Control → Authentication |
Why each portal has its own SAML configuration
When you federate sign-in, your IdP needs to know which platform endpoint to send assertions to. The two portals have different audiences and different role-assignment rules, so the platform gives each portal its own SAML Service Provider endpoint — its own Entity ID, its own Reply URL.
Why role assignment differs between the two
The Admin Portal and Self-Service Portal don’t share an authorization model, so SAML role assignment also differs:- Admin Portal SAML. You configure a Default Role Mapping
with one or more Organization-scope roles (Owner / Context
Manager / Member). Every user who signs in via that SAML
configuration is auto-provisioned as an Organization
administrator with those roles. You can override per-user from
the IdP by including a
roleattribute that maps to a Custom SAML Role you’ve defined. - Self-Service Portal SAML. No Default Role Mapping. The Self-Service Portal doesn’t have a single shared role list — what a Self-Service User can do depends on which Service Context they were invited to, and which permission level they were granted inside that Context. SAML hands you a verified email and the platform looks the email up in each Service Context’s Self-Service User list to decide what’s accessible.
Why the default-on methods are different
Each portal ships with one method enabled out of the box:- Admin Portal: Form Login. Sensible for the small, named set of administrators an Organization typically has. Pair it with Mandatory Email MFA in Organization Settings for a baseline second factor without an external IdP.
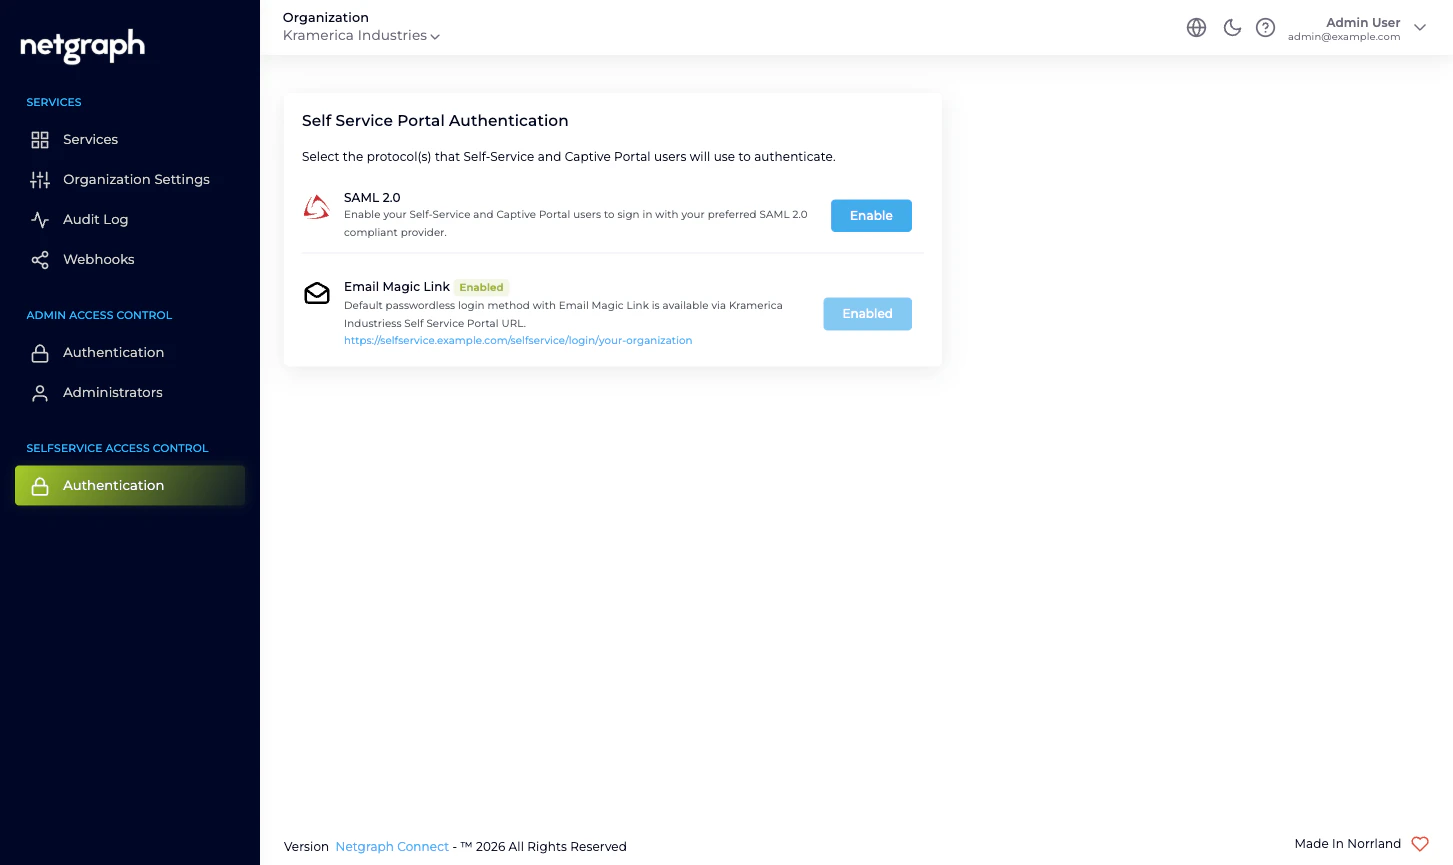
- Self-Service Portal: Email Magic Link. Removes the password problem for end users (residents, hosts, group administrators) who only sign in occasionally. The portal sends a one-click link to the email the Self-Service User was invited under. The link’s validity is set in the Organization’s Self-Service Portal Settings.
How this maps onto the left navigation
The Organization’s left navigation reflects the split directly. You’ll see two grouping headers near the bottom:- Admin Access Control with two items inside: Authentication (the picker above; clicking SAML 2.0 takes you to the Admin Portal SAML configuration) and Administrators (who exists, what role they hold).
- Selfservice Access Control with one item inside: Authentication (the picker above; clicking SAML 2.0 takes you to the Self-Service Portal SAML configuration). The actual Self-Service Users are managed inside each Service Context, not here, because they’re Context-scoped.
Where to go next
Admin Portal authentication
Configure Form Login and SAML 2.0 for administrators.
Self-Service Portal authentication
Configure Email Magic Link and SAML 2.0 for end users.
Administrator roles
The three Organization-scope roles for the Admin Portal.
Organization Settings
Mandatory MFA, Self-Service token lifetime, slugs, and more.