The IdP-side setup pattern
Every SAML IdP asks for the same information from the Service Provider (Netgraph):- Entity ID / Identifier — the unique identifier of the SP.
- ACS URL / Reply URL — where the IdP should send the SAML response.
- Sign-on URL — paste into Identity Provider Single Sign-On URL.
- Issuer / Entity ID — paste into Identity Provider Issuer.
- X.509 certificate — paste the Base64 content into X.509 Certificate.
- Email attribute — mapped to the
usernameclaim Netgraph expects.
Azure AD / Entra ID
Create an Enterprise Application
In the Entra admin centre: Enterprise Applications →
New application → Create your own application → Non-gallery.
Give it a descriptive name (for example Netgraph — Admin Portal
or Netgraph — Guest Wi-Fi). Click Create.
Fill in Basic SAML Configuration
Click Edit in section 1 and set: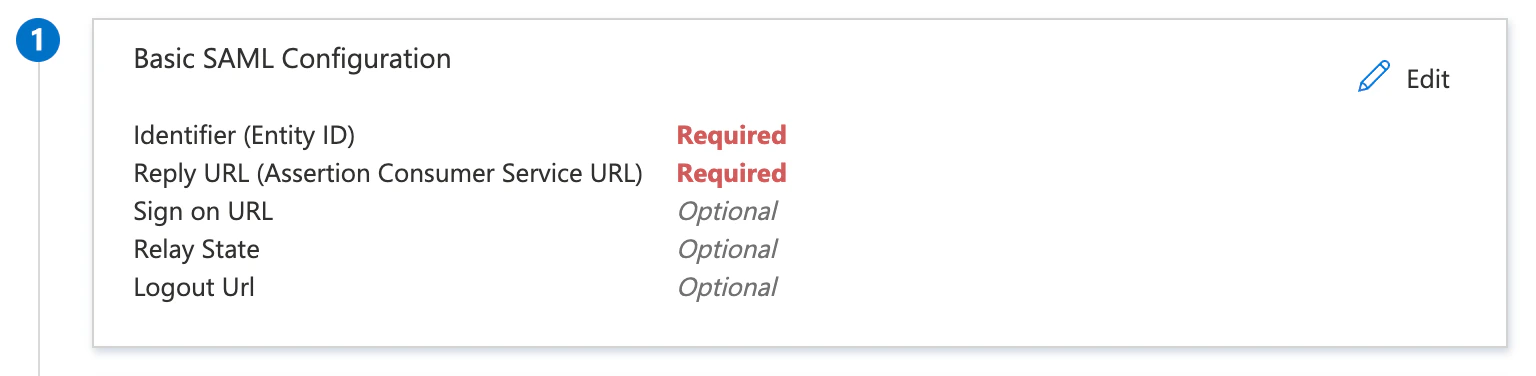
- Identifier (Entity ID) = Netgraph’s Service Provider Recipient URL.
- Reply URL (Assertion Consumer Service URL) = the same URL.
Add the username attribute claim
Click Edit in section 2 (Attributes & Claims) →
Add new claim:
- Name:
username - Namespace:
https://adminconsole.netsign-in.se/saml/attributes - Source: Attribute
- Source attribute:
user.mail
(Optional) Add a role claim
Only relevant for the Admin Portal target, and only if you
want Netgraph roles to be driven by Entra group or role
membership instead of a single default role.Add another claim: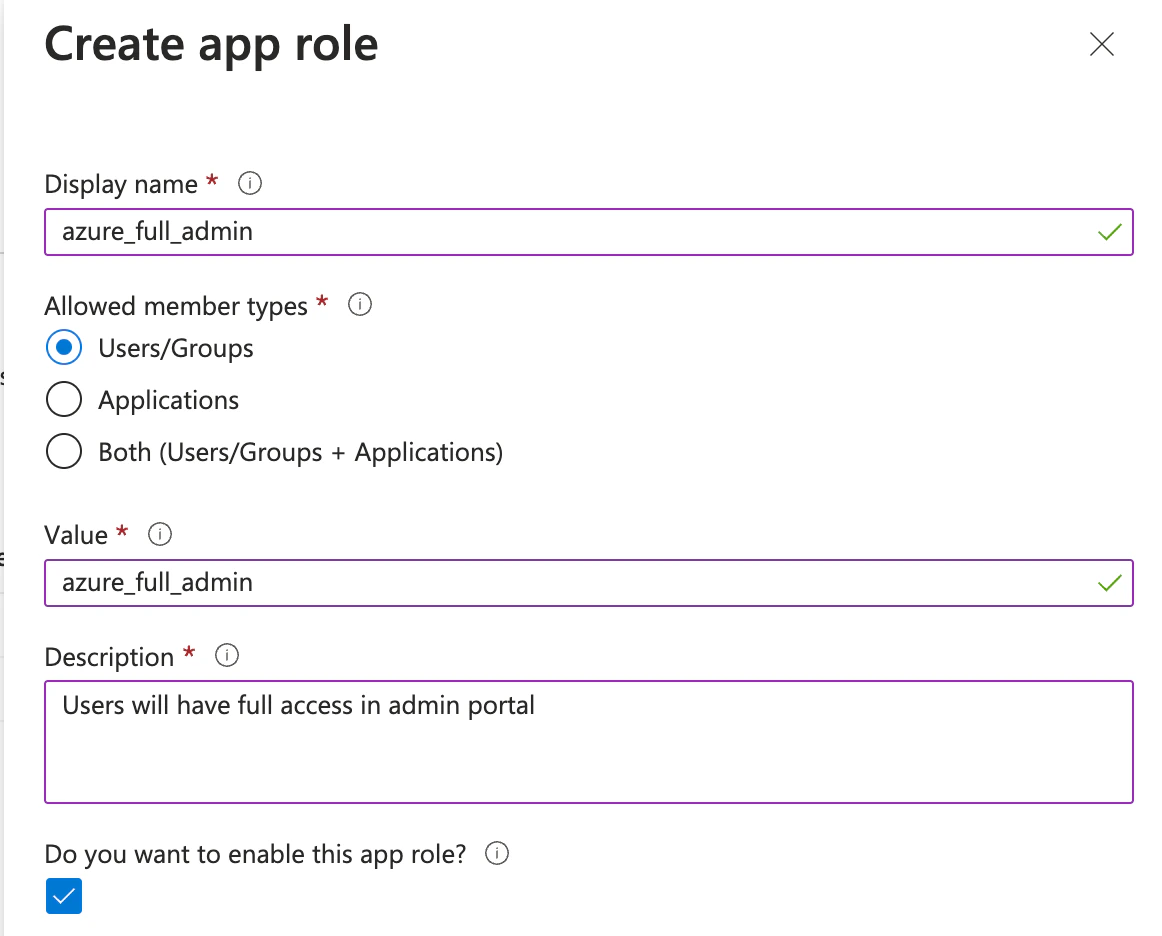
- Name:
role - Namespace:
https://adminconsole.netsign-in.se/saml/attributes - Source: Attribute
- Source attribute:
user.assignedroles
Download the certificate
In section 3 (SAML Signing Certificate), download the
Certificate (Base64) and open it in a text editor. Paste the
content into Netgraph’s X.509 Certificate field.
Copy URLs from section 4
- Login URL → Netgraph Identity Provider Single Sign-On URL.
- Azure AD Identifier → Netgraph Identity Provider Issuer.
Assign users
Back in the Entra app, Users and groups → + Add user/group and
assign the users or groups who should be able to sign in through
this integration. Users who aren’t assigned are rejected by the
IdP.
Walled-garden entries for Entra
When using Entra as the Self-Service IdP for Captive Portal SAML, add these hostnames to the Captive Portal walled garden:login.microsoftonline.commyapps.microsoft.comaccount.live.comaadcdn.msauth.netaadcdn.msftauth.netaccount.activedirectory.windowsazure.com
Google Workspace
Create a SAML app
In Google Admin: Apps → Web and mobile apps → Add app → Add
custom SAML app. Enter a descriptive name.
Copy IdP values
Google shows you three values:
- SSO URL → Netgraph Identity Provider Single Sign-On URL.
- Entity ID → Netgraph Identity Provider Issuer.
- Certificate → Netgraph X.509 Certificate.
Enter SP details
Paste Netgraph’s Service Provider Recipient URL into both:
- ACS URL
- Entity ID
Map the username attribute
In the Attributes section, click Add mapping.
- Google Directory attribute: Primary email.
- App attribute:
https://adminconsole.netsign-in.se/saml/attributes/username
Grant user access
On the new app’s User access page, enable ON for everyone
(or restrict to the relevant Organisational Units). Save.
Walled-garden entries for Google
accounts.google.comaccounts.google.<tld>— substitute your country TLD if Google redirects users through a regional subdomain.fonts.gstatic.comssl.gstatic.comlh3.googleusercontent.comaccounts.youtube.com
Okta
Create a SAML 2.0 app
Okta admin: Applications → Create App Integration → SAML 2.0 →
Next. Enter a name.
Fill SP details
- Single sign-on URL = Netgraph’s Service Provider Recipient URL.
- Audience URI (SP Entity ID) = the same URL.
- Name ID format = EmailAddress (or Unspecified; match Netgraph expectations).
Add attribute statement
Add an attribute statement mapping
username (namespace
https://adminconsole.netsign-in.se/saml/attributes) to
user.email.Finish and copy metadata
After the app is created, open Sign On → View SAML setup
instructions and copy:
- Identity Provider Single Sign-On URL → Netgraph.
- Identity Provider Issuer → Netgraph.
- X.509 Certificate → Netgraph.
Walled-garden entries for Okta
login.okta.comok12static.oktacdn.com<your-tenant>.okta.com
Disabling MFA for the Captive Portal
Multi-factor authentication is great for sensitive resources, but it’s problematic during Captive-Portal sign-in: many devices restrict multitasking while captive, so the guest can’t easily open an authenticator app. For Entra deployments, the supported approach is Conditional Access — require MFA for every cloud app except the Captive-Portal Netgraph application.Switch from per-user MFA to Conditional Access MFA
Per-user MFA and Conditional Access don’t mix. Under Users →
Per-user MFA, confirm Multi-factor auth status is Disabled
for the users this policy will apply to. Microsoft recommends
this switch as a prerequisite for Conditional Access MFA.
Create a Conditional Access policy
Azure Active Directory → Security → Conditional Access → +
New Policy. Name it clearly (for example Require MFA except
Captive Portal).
Target cloud apps
- Include → All cloud apps.
- Exclude → add your Netgraph Captive Portal Enterprise Application.
Set access controls
Grant → Grant access with Require multifactor
authentication checked. Click Select.
MFA on Captive-Portal sign-in is a trade-off. Skipping it makes
sign-in reliably work from captive devices; keeping it raises the
security bar. Decide with your security team; whichever you pick,
document it so the trade-off is explicit.
Troubleshooting
| Symptom | Most likely cause |
|---|---|
| Entra “Invalid signature” on the ACS callback | Signing certificate expired — re-download and re-paste. |
| Sign-in completes but no login record appears | Attribute mapping wrong — check the username claim arrives as an email. |
| Browser loops back to the Captive Portal | IdP hostnames missing from the walled garden. |
| Sign-in fails for users not assigned in the IdP | Expected — assign them to the enterprise application. |
Related
Organization SAML authentication
The two IdP targets — Admin Portal and Self Service.
SAML SSO module
How the Captive Portal uses the Self-Service IdP.
Walled garden
Pre-auth reachability.