EasyPSK talks to Cisco Meraki over the Meraki Dashboard API, managing Identity PSKs on an SSID configured for Identity PSK without RADIUS. Before a Context can connect, the Meraki side needs the SSID prepared and a Dashboard API key minted. Work in this order:Documentation Index
Fetch the complete documentation index at: https://wiki.netgraph-connect.com/llms.txt
Use this file to discover all available pages before exploring further.
- Configure the SSID for Wi-Fi Personal Network (WPN).
- Create a Meraki Dashboard API key.
If more than one Meraki network will share the same SSID,
configure the SSID in a Meraki Network Template rather
than per-network — every bound network will then inherit the
settings below.
1. Configure the SSID for Wi-Fi Personal Network
Create (or repurpose) an SSID in the Meraki Dashboard and apply the four settings below. Each setting lives on a separate page under Wireless → Access control.A) Activate “Identity PSK without RADIUS”
In the Meraki Dashboard navigate to Wireless → Access control → Security and select Identity PSK without RADIUS.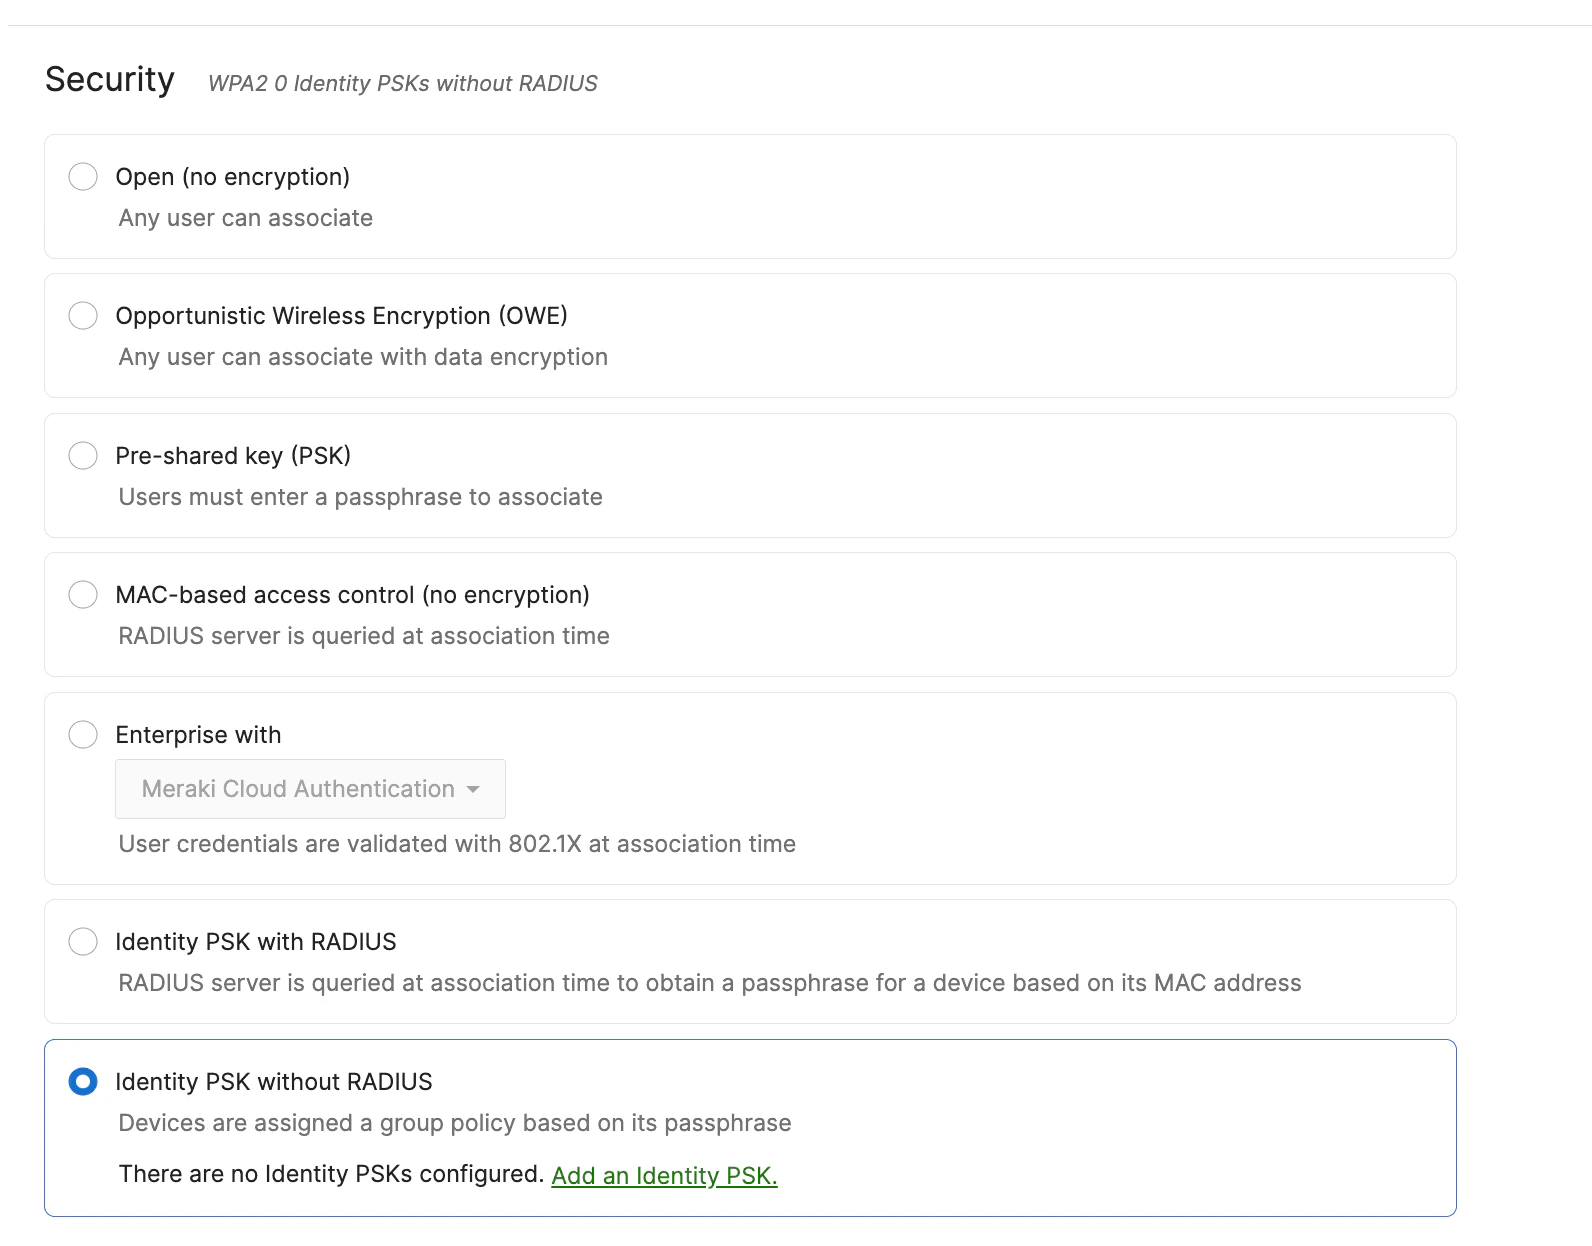
B) Enable Wi-Fi Personal Network (WPN)
Toggle Wi-Fi Personal Network on for the SSID. The Connect EasyPSK flow creates Identity PSK records here once the Context is connected.The Wi-Fi Personal Network option may only become visible
in the Meraki Dashboard once a WPN group has been created. If
the toggle isn’t visible yet, create an initial WPN group from
the Meraki side and the option appears.

C) Set the Splash page to None
Navigate to Wireless → Access control → Splash and select None. WPN devices authenticate by PSK on join; there’s no captive-portal step.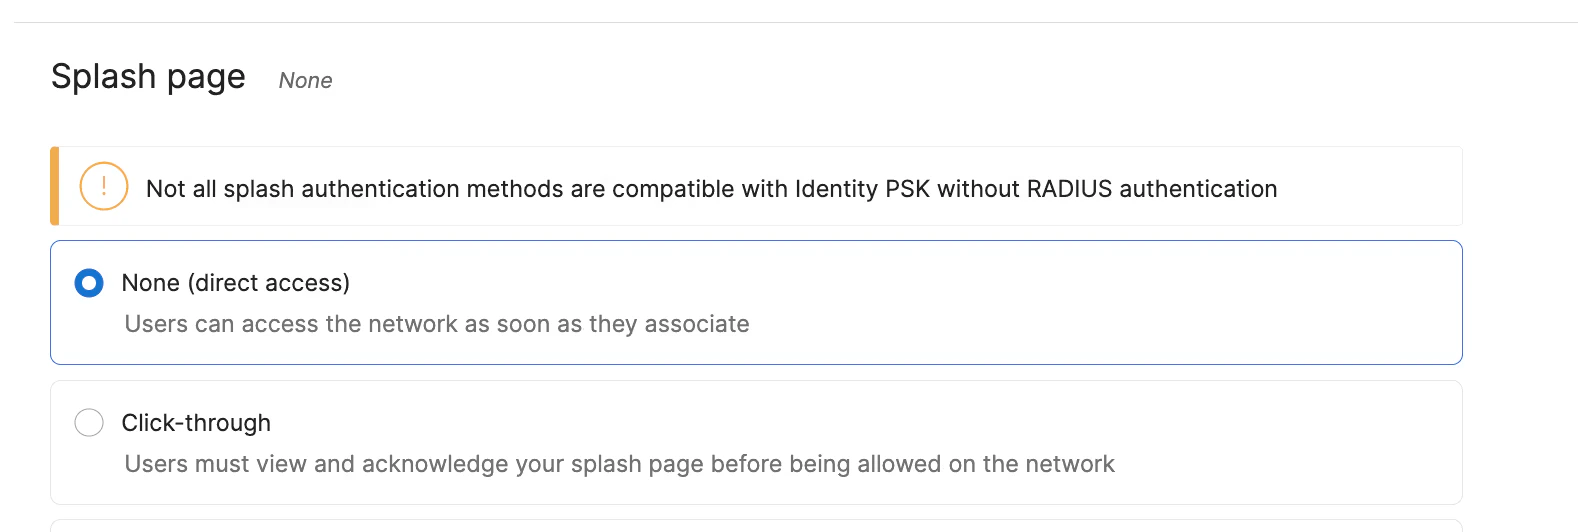
D) Set Client IP to External DHCP server assigned
Navigate to Wireless → Access control → Client IP and VLAN and select External DHCP server assigned.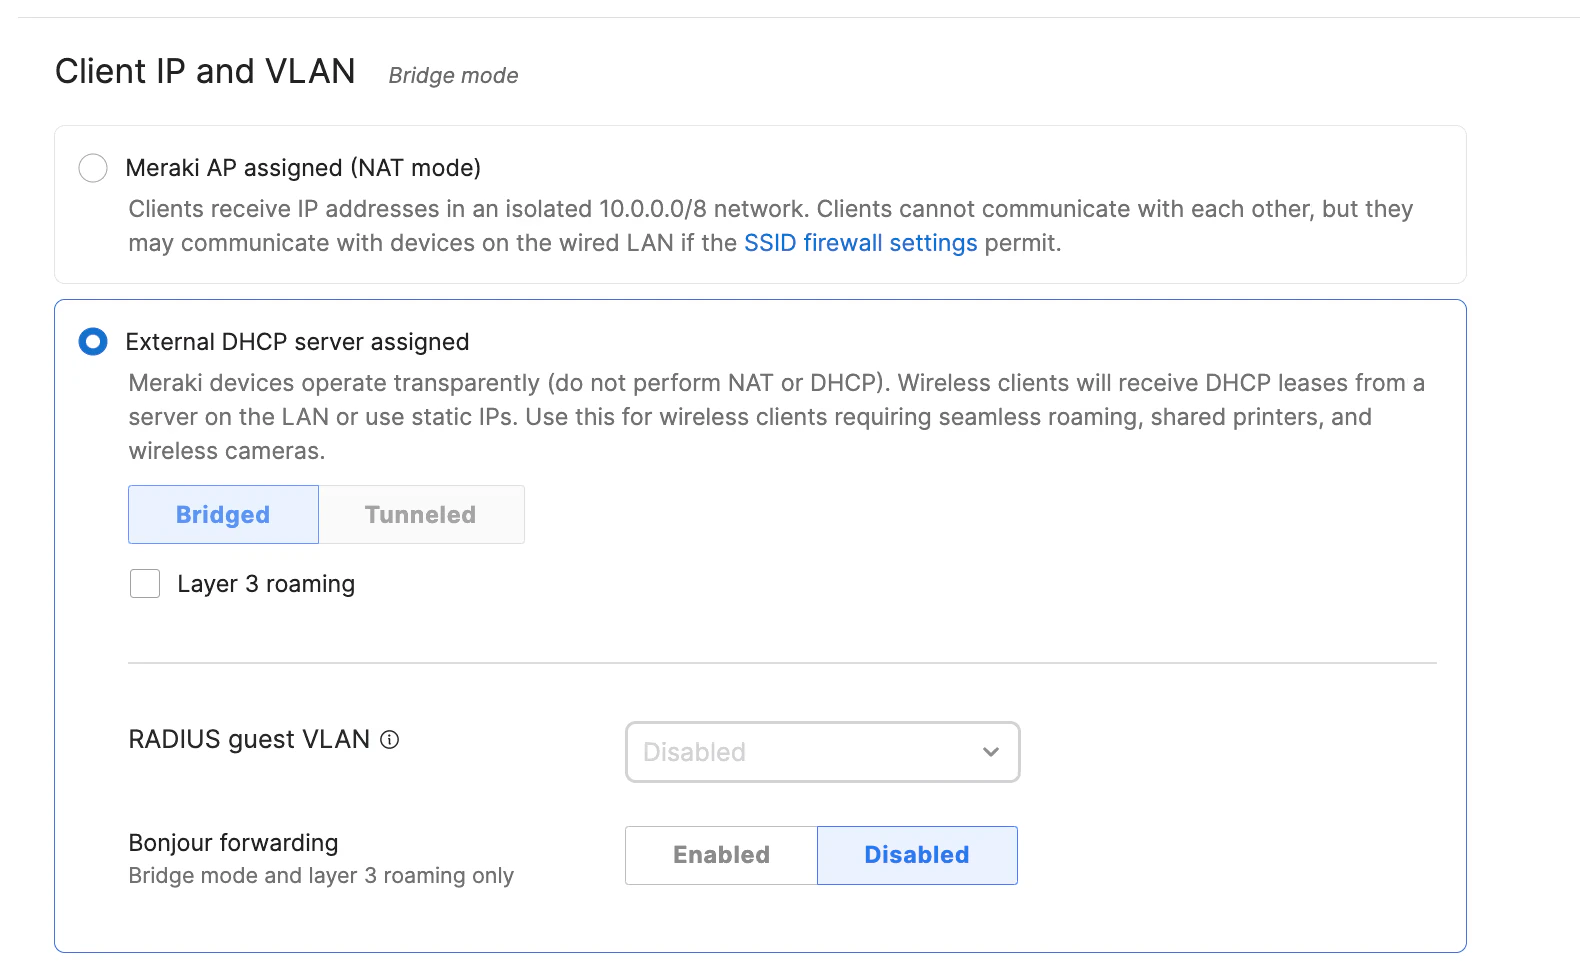
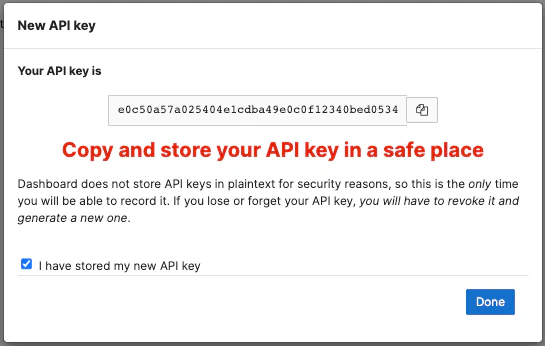
2. Create a Meraki Dashboard API key
The platform authenticates to the Meraki Dashboard with an API key. Use an account with Full organization access — restricted keys can miss the objects EasyPSK needs (group policies, clients, identity PSKs). In the Meraki Dashboard, open your account menu in the top-right corner and select My Profile. Navigate to API access and click Generate new API key. Alternatively, go to Organization → API and Webhooks.
Done — continue with the platform side
The Meraki side is ready. Return to the platform and continue with Connect EasyPSK to paste in the API key, pick the organization and network or template, and select the SSID.Related
Connect EasyPSK
Paste the API key, pick organization, network or template, SSID and Group Policy Strategy.
EasyPSK Context
What a Context holds and how it talks to Meraki.
Wireless Personal Networks
The unit of delegation inside a Context.
Troubleshooting
When devices can’t connect or the API key breaks.